29 January 2019 11:00 (UTC)
Let McLaren’s paint shop manager guide you through the process
In the manufacturing industry, paint is sometimes viewed with a certain wariness. It’s often the very last element to be applied; will cover up some of the craftsmanship – and cracks – beneath it; and invariably attracts the lion’s share of attention.
Beautifully paint something bad and it will look beautiful; badly paint something beautiful and it will look, er… bad.
With that in mind, McLaren Racing’s paintshop has the heavy weight of expectation upon its shoulders. It’s a tight-knit, hard-working unit that regularly works long hours to ensure efficient delivery of parts. And it knows the standard that is required: Formula 1 McLarens have rightly been hailed as having some of the most beautiful and iconic liveries in the sport’s history. So getting them right is a matter of both pride and importance.
And it’s a more complicated process than you might imagine – which is why the team is so dependent on its close technical relationship with our coatings partner, AkzoNobel-Sikkens.
Let McLaren’s paint shop manager Glen Washington guide you through the process:
The first car the paint shop team starts work on each year never even leaves the paint shop. It’s what’s referred to as the paint buck – a full-size chassis mock-up that’s used as a reference to test colours, finishes and to line up livery details, particularly useful for complex colour-schemes.
“The paint buck is a full-scale dummy chassis,” explains Washington. “We use the buck to gain a proper visual understanding of the contours of the car. It’s easy to look at a CAD model on a computer screen, but it helps to have a physical model when you’re lining out [marking out paint lines and contours] the car, separating out where each colour will sit.

“Every year, the surface of the car throws up certain lumps and bumps – gills, foils, hatches etc – and we need to get our contours to work around those. On a CAD model, the line might cut through them, but you’ve got to work out what’s best in reality. It throws up a lot of challenges every year.
“The buck’s also useful for trialling new paint processes – we can see if a new paint or a lacquer is working, or if a masking line isn’t working properly. It’s a very useful tool.”
Before the painting of an actual component can even start, Glen and his team need to prepare the surface to take the paint. That means plenty of sanding, filling and priming before the first coat goes down.
“We’ll receive a new component from the composites assembly department – and, of course, it will have been fabricated in bare carbon. We’ll flat the whole thing off with some high-grit sanding, abrading the surface and keying up the areas that need to be painted. Some aero surfaces are left completely unpainted because it makes them more aerodynamic.
“Once we’ve finished sanding, we’ll start to apply filler to make the whole surface smooth – but we don’t fill too much, because we don’t want to change the shape of any aerodynamic components. We’re looking for imperfections in the carbon, or the step-joints where metal and carbon components join together. If there’s a step, we blend it out with filler.”
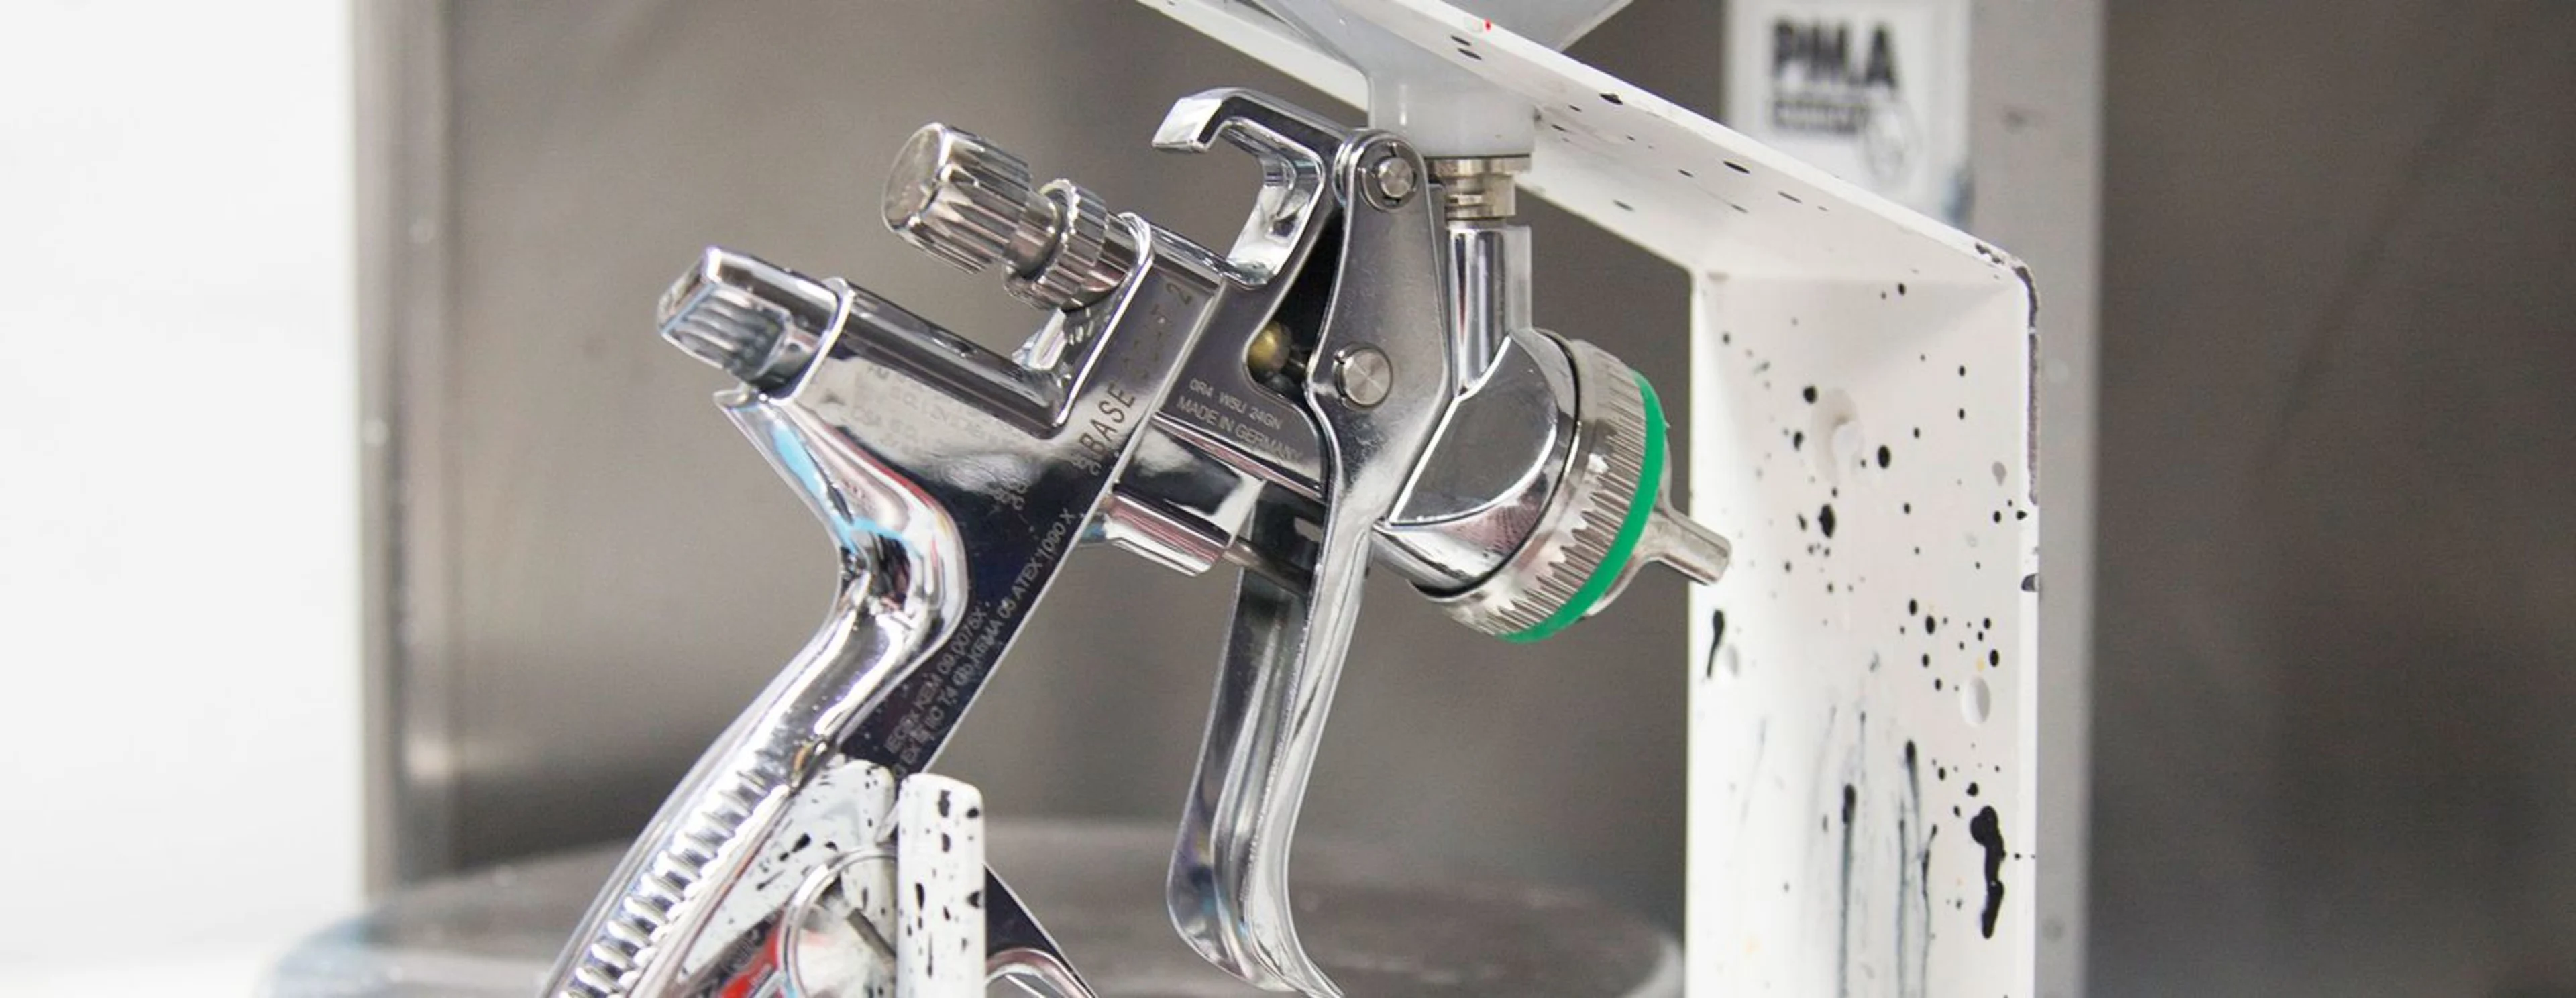
When the paint is ready to go on, the first coat that’s applied is the primer – a foundation upon which the actual colour can be applied.
“We’ll mask the component in any area where we don’t want paint – then, we’ll typically apply two coats of primer; sometimes three, depending on how difficult the carbon is to paint. Bare carbon and filler can actually absorb quite a lot of primer, so we’re mindful of that.
“Once that’s dried, we’ll flat it off again, de-mask and re-mask it to avoid dust and grease infiltrating the process, then we’ll start with the colour.”
As in any painting and over-painting process, the correct application of colour is important. Glen’s team apply whites first, and then build up layers of colour on top. Ordinarily, it requires two coats of colour to get the correct finish on a Formula 1 car.
Once the painting is complete, the components need to be heat-cured to ensure the paint has been properly absorbed into the component, and to dry the part before packing or installing.
“We’re able to heat the paint booths to dry the paint,” says Glen. “We ordinarily cure the finish for about 40-45 minutes at temperatures of around 60-65 degrees. We’ve worked closely with our coatings partner AkzoNobel to create products that cure extremely quickly.
“Within the paint shop, we’re always looking at ways of speeding up our processes. You have to remember that we’re often the last port of call for a part – they go straight from us to the track – so the time-frame we have to work in is always particularly squeezed.
You don’t buy a gloss or matte paint – all paint dries in a flat finish, it’s the lacquers and clear coats that are applied at the end of the process that give the paint its sparkle or lustre.
“We recently received a new product from AkzoNobel, simply called ‘2.0’, which is a new formula they’ve created to make curing times shorter – sometimes by up to 40 minutes, and at a lower-temperature bake, which helps the environment. AkzoNobel’s 2.0 is a lacquer, which seals the paint in, setting at a very low temperature with a very hard finish. It seals all the colour in, and means you can start polishing the surface as soon as it’s finished baking.”
From bare carbon to finished product, a single colour can be applied in three days. And once it’s been raced, and blasted with debris and spattered with gravel on the racetrack, each chassis returns to the paint shop to be sanded down and repainted. During the season, this is a somewhat easier task, as all the components have already been filled, so a full car can be repainted in around three to four days.
“We repaint the tubs every three races, depending on where we are in the world,” explains Washington. “We take three tubs to each grand prix, and just take one out of the pool and put another one in. It’s a case of juggling them around, with the team manager working out which chassis gets painted and when.
As the job of repainting components has grown more involved, the paint team has begun investigating alternative methods. Last year, it evaluated the idea of sending paint-damaged components to local-market AkzoNobel paint shops, radically reducing the costs required to freight them back to the UK for repaint.
“For this year, we’re trying to get AkzoNobel paint shops in certain major global locations to potentially do the jobs for us,” explains Glen. “We wouldn’t do the full chassis, but will definitely explore the potential of getting front and rear wings painted locally.”
The final part of the puzzle are the partner logos and decals that are applied at the very end of the paint process. While this may sound like a straightforward job, Glen reveals that there are certain tricks that make life easier.
“Because of the way the car’s bodywork curves, the logos can sometimes look too small, or look wrong,” he says. “The ‘H’ of Honda on the engine cover, for example; it tapers away as the engine cover gets tighter, so it begins to look like it’s slipping down. Sometimes we have to increase the size of the letters at the rear – again, that’s one of the many practical advantages of having a paint buck, we can work all those things out at the earliest stage of the season.”
When the covers slide gracefully off the MCL34, remember that the beautiful paint-job beneath was the result of hundreds of hours of painstaking work, all of which helped to make the car look absolutely unique.